Species Identification Microscope: The Smart Guide
Have you ever wondered what tiny creatures live around you? A species identification microscope can help you find out! It lets you see things that are too small for your eyes. You can explore a whole new world.
Imagine being a scientist discovering new bugs. Or a detective solving a mystery using tiny clues. A microscope can help you do these things! It makes small things look big. You can see their shapes and colors.
A microscope is like a magnifying glass. But it is much stronger. It helps you identify different types of living things. Are you ready to explore the microscopic world? Let’s learn more about these amazing tools!
Key Takeaways
- A species identification microscope helps us see tiny living things clearly.
- Microscopes use lenses to make small objects appear much bigger.
- You can use microscopes to identify different types of bacteria and cells.
- Learning about microscopes can help you explore the world around you.
- Different types of microscopes are used for different purposes.
Using a Microscope for Species ID
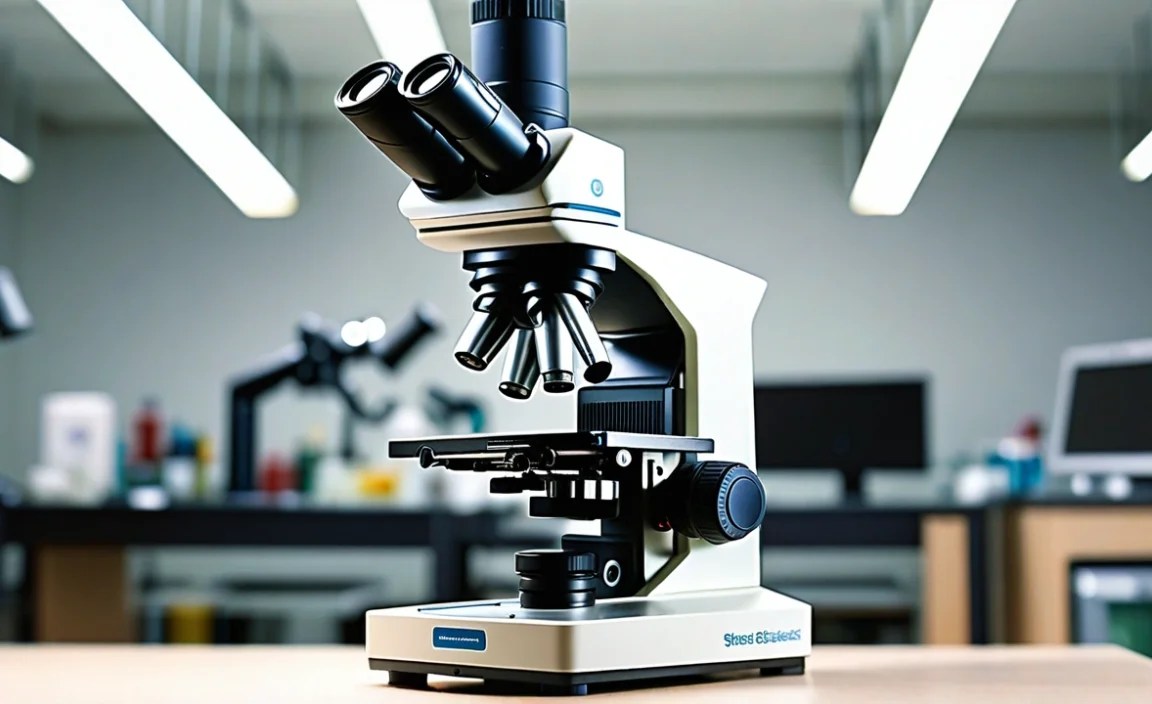
A species identification microscope is a tool that helps us see very small things. It makes tiny objects look much bigger. This helps us study things we cannot see with our eyes alone. Microscopes use lenses to magnify objects. The lenses bend light to make the object appear larger. There are different types of microscopes. Some use light, while others use electrons. Light microscopes are common in schools. Electron microscopes are more powerful. They can show even smaller details. With a good microscope, you can identify different types of cells. You can also see bacteria and other microorganisms. This helps scientists learn more about living things. It also helps doctors diagnose diseases. Microscopes are important tools for science and medicine. They help us understand the world around us in new ways. Have you ever looked at a drop of pond water under a microscope? You would be amazed at what you can see!
- Microscopes magnify small objects.
- Lenses bend light to make objects look bigger.
- Light microscopes are common in schools.
- Electron microscopes show even smaller details.
- Microscopes help doctors diagnose diseases.
- You can see bacteria and cells with a microscope.
Using a species identification microscope is fun. First, you prepare your sample. This might involve putting it on a glass slide. Then, you place the slide on the microscope stage. You look through the eyepiece and adjust the focus. This makes the image clear. You can change the magnification to see more details. Some microscopes have a light source. This helps you see the sample better. You can also stain the sample. This makes different parts of the sample easier to see. It is important to take notes on what you observe. You can draw pictures of the things you see. This helps you remember what you learned. Always handle the microscope carefully. Microscopes are delicate instruments. With practice, you will become a microscope expert. You can discover many new things about the world around you. What will you look at first under the microscope?
What is Magnification?
Magnification is how much bigger a microscope makes an object look. It is usually written as a number followed by an “x.” For example, 100x means the object looks 100 times bigger than it really is. Microscopes use lenses to magnify objects. The lens bends light to make the object appear larger. Different lenses have different magnifications. You can change the lens to see more or less detail. The total magnification of a microscope is the product of the objective lens and the eyepiece lens. For example, if the objective lens is 40x and the eyepiece lens is 10x, the total magnification is 400x. Higher magnification lets you see smaller details. But it also makes the image darker. It is important to adjust the light to see the image clearly. Understanding magnification is key to using a microscope effectively. What is the highest magnification you have ever used?
Preparing Samples for Viewing
Preparing samples is an important step in using a microscope. The way you prepare a sample can affect how well you can see it. Some samples can be viewed directly. Others need to be treated first. For example, you might need to stain a sample to see its parts clearly. Stains are special dyes that color different parts of the cell. This makes them easier to see under the microscope. You can also use a coverslip to flatten the sample. This makes it easier to focus on. Some samples need to be fixed. This means preserving them so they do not decay. Fixing can involve using chemicals or heat. The best way to prepare a sample depends on what you are trying to see. Always follow the instructions carefully. With practice, you will become good at preparing samples. What sample will you prepare first?
Different Types of Microscopes
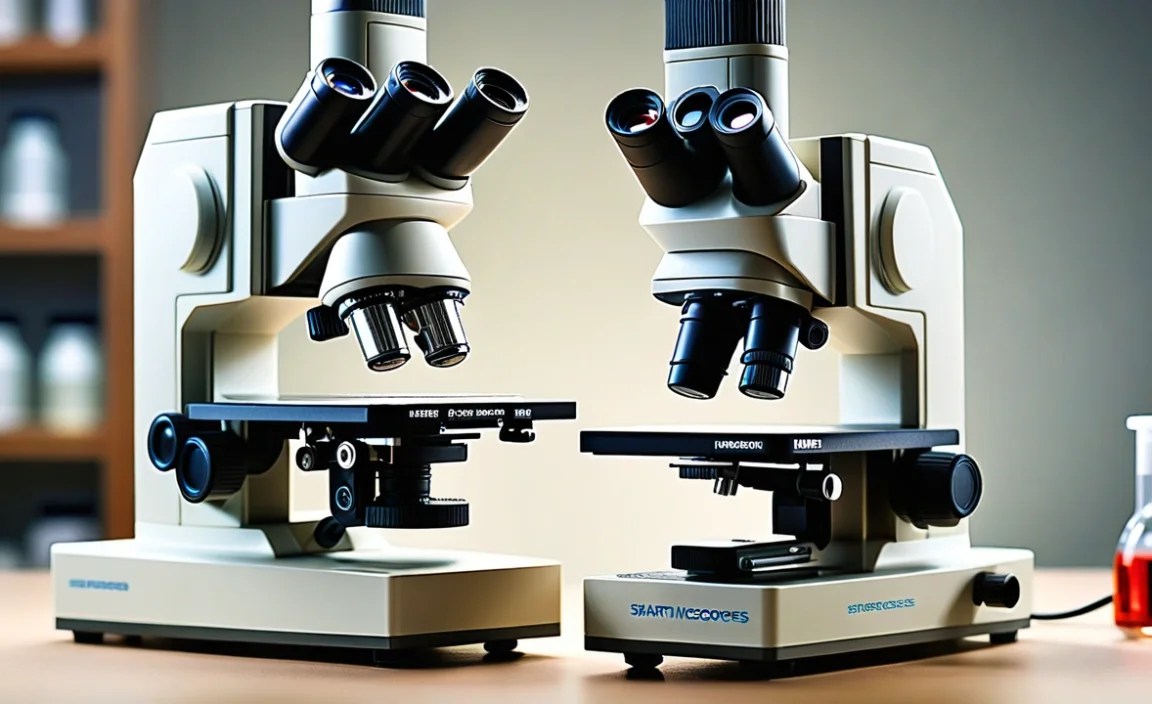
There are many different types of microscopes. Each type has its own strengths and weaknesses. Light microscopes are the most common type. They use light to illuminate the sample. Electron microscopes use electrons instead of light. This allows them to see much smaller details. Confocal microscopes use lasers to create sharp images. They can also create three-dimensional images. Scanning probe microscopes use a tiny probe to scan the surface of the sample. This allows them to see the surface at the atomic level. The type of microscope you use depends on what you are trying to see. Light microscopes are good for looking at cells. Electron microscopes are good for looking at viruses. Confocal microscopes are good for looking at thick samples. Scanning probe microscopes are good for looking at surfaces. Which type of microscope is best for your project?
Fun Fact or Stat: Did you know the first microscope was created in the late 1500s? It only magnified objects up to 10 times their actual size!
Identifying Plant Species with a Microscope
A species identification microscope is very useful for identifying plant species. Plants have tiny structures that you can only see with a microscope. These structures include cells, tissues, and pollen grains. By looking at these structures, you can tell one plant species from another. For example, the shape of a plant’s cells can be different. The arrangement of tissues can also vary. Pollen grains have unique shapes and patterns. These differences can help you identify the plant. Plant scientists use microscopes to study plant anatomy. They can learn about how plants grow and develop. They can also identify new plant species. You can use a microscope to look at leaves, stems, and roots. You can also look at flowers and seeds. Each part of the plant has its own unique features. What plant part will you look at first?
- Plant cells have different shapes.
- Plant tissues are arranged in different ways.
- Pollen grains have unique shapes and patterns.
- Microscopes help scientists study plant anatomy.
- You can look at leaves, stems, and roots.
- Flowers and seeds have unique features too.
Using a species identification microscope for plants is exciting. First, you collect a sample of the plant. This might be a leaf or a piece of stem. Then, you prepare the sample for viewing. You might need to cut it into thin slices. You can also stain it to make the cells more visible. Place the sample on a glass slide. Then, put the slide on the microscope stage. Look through the eyepiece and adjust the focus. Start with a low magnification. Then, increase the magnification to see more detail. Look for key features like cell shape and tissue arrangement. Compare your observations to reference images. This can help you identify the plant species. Remember to take notes and draw pictures. This will help you remember what you learned. What plant species will you try to identify?
Looking at Leaf Structures
Leaves are full of tiny structures. You can see these structures with a microscope. The epidermis is the outer layer of the leaf. It protects the leaf from damage. Stomata are small pores on the leaf surface. They allow gases to enter and exit the leaf. Mesophyll cells are located inside the leaf. They contain chloroplasts, which are responsible for photosynthesis. Veins are the transport system of the leaf. They carry water and nutrients to the leaf cells. By looking at these structures, you can learn about how the leaf functions. You can also compare the leaf structures of different plant species. Are the leaf structures of all plants the same?
Examining Stem Tissues
Stems also have unique tissues. You can examine these tissues with a microscope. The epidermis is the outer layer of the stem. It protects the stem from damage. The cortex is located beneath the epidermis. It contains parenchyma cells, which store food and water. The vascular bundles are the transport system of the stem. They contain xylem and phloem, which carry water and nutrients. The pith is located in the center of the stem. It is made up of parenchyma cells. By looking at these tissues, you can learn about how the stem functions. You can also compare the stem tissues of different plant species. Do all stems have the same tissues?
Identifying Pollen Grains
Pollen grains are tiny particles produced by flowers. They are responsible for plant reproduction. Pollen grains have unique shapes and patterns. These features can help you identify the plant species. You can collect pollen grains from a flower. Then, you can view them under a microscope. Look for the shape, size, and surface features of the pollen grains. Compare your observations to reference images. This can help you identify the plant species. Pollen analysis is used in many fields, including forensics and archaeology. Can you imagine using pollen to solve a crime?
Fun Fact or Stat: Some plants have pollen grains so small, you can fit over 10,000 of them on the head of a pin!
Microscope Techniques for Bug Identification

A species identification microscope is essential for bug identification. Bugs are small and have many tiny features. You need a microscope to see these details clearly. Microscopes help you see the shape of the bug’s body. You can also see its legs, antennae, and wings. These features can help you identify the bug species. Entomologists, or bug scientists, use microscopes every day. They study the anatomy of bugs. They also identify new bug species. You can use a microscope to look at bugs you find in your backyard. You can also look at bugs in museums and collections. Each bug has its own unique characteristics. What bug will you look at first?
- Microscopes help you see tiny bug features.
- You can see the shape of the bug’s body.
- You can also see its legs and antennae.
- Entomologists use microscopes to study bugs.
- You can look at bugs from your backyard.
- Museums have bug collections for study.
Using a species identification microscope for bugs is fascinating. First, you collect a bug sample. You can catch a bug in a jar or net. Then, you prepare the sample for viewing. You might need to kill the bug first. You can do this by freezing it. Then, you can pin the bug to a board. This will keep it in place. Place the bug on the microscope stage. Look through the eyepiece and adjust the focus. Start with a low magnification. Then, increase the magnification to see more detail. Look for key features like wing patterns and leg structures. Compare your observations to reference images. This can help you identify the bug species. Remember to take notes and draw pictures. This will help you remember what you learned. What is the most interesting bug you have ever seen?
Examining Insect Wings
Insect wings are complex structures. You can see these structures with a microscope. The veins of the wing provide support. The membranes between the veins are thin and delicate. The patterns on the wings can help you identify the insect. Some insects have scales on their wings. These scales give the wings their color. By looking at the wing structures, you can learn about how the insect flies. You can also compare the wing structures of different insect species. Do all insect wings have the same patterns?
Looking at Insect Legs
Insect legs are adapted for different purposes. Some insects have legs for walking. Others have legs for jumping. Some have legs for swimming. The shape and structure of the leg can help you identify the insect. You can examine insect legs under a microscope. Look for the number of segments. Also, look for the presence of spines or hairs. Compare your observations to reference images. This can help you identify the insect. What kind of legs does a grasshopper have?
Identifying Insect Antennae
Insect antennae are sensory organs. They help the insect detect smells and vibrations. The shape and structure of the antennae can help you identify the insect. You can examine insect antennae under a microscope. Look for the number of segments. Also, look for the shape of each segment. Compare your observations to reference images. This can help you identify the insect. Do all insects have the same kind of antennae?
Fun Fact or Stat: There are more species of insects than all other animals combined! Scientists estimate there are millions of insect species on Earth.
Preparing Slides for Microscope Viewing
Preparing slides is important for using a species identification microscope. A slide is a small piece of glass that holds the sample. You place the sample on the slide and then put it under the microscope. Preparing the slide correctly helps you see the sample clearly. There are different ways to prepare slides. One way is to make a wet mount. This involves placing the sample in a drop of water on the slide. Then, you cover it with a coverslip. Another way is to make a dry mount. This involves placing the dry sample directly on the slide. Sometimes, you need to stain the sample. This makes different parts of the sample easier to see. Always handle slides carefully. They are made of glass and can break easily. What kind of slide will you make first?
- Slides hold the sample under the microscope.
- Wet mounts use a drop of water.
- Dry mounts use a dry sample.
- Staining makes parts of the sample easier to see.
- Handle slides carefully to avoid breaking them.
- Coverslips protect the sample and the microscope lens.
To prepare a slide, you need a clean slide and a coverslip. You also need the sample you want to view. If you are making a wet mount, place a drop of water on the slide. Then, place the sample in the water. Gently lower the coverslip onto the sample. This will prevent air bubbles from forming. If you are making a dry mount, place the dry sample directly on the slide. Then, carefully place the coverslip on top. If you are staining the sample, follow the instructions carefully. Use the correct amount of stain. Rinse the slide to remove excess stain. Always label the slide with the name of the sample. This will help you keep track of your slides. Store the slides in a safe place. This will prevent them from getting damaged. Are you ready to make your first slide?
Making a Wet Mount
Making a wet mount is easy. First, gather your materials. You will need a clean slide, a coverslip, a drop of water, and your sample. Place a drop of water on the center of the slide. Then, carefully place your sample in the water. Make sure the sample is spread out evenly. Next, gently lower the coverslip onto the sample. Start at one edge of the coverslip and slowly lower it down. This will help prevent air bubbles from forming. If you do get air bubbles, you can try tapping the coverslip gently. This will sometimes get rid of the bubbles. Once the coverslip is in place, you are ready to view the slide under the microscope. Is making a wet mount easier than you thought?
Creating a Dry Mount
Creating a dry mount is also simple. You will need a clean slide, a coverslip, and your dry sample. Make sure your sample is completely dry. Place the sample on the center of the slide. Spread the sample out evenly. Then, carefully lower the coverslip onto the sample. Make sure the coverslip is clean and free of dust. You can use a soft cloth to clean the coverslip if needed. Once the coverslip is in place, you are ready to view the slide under the microscope. Dry mounts are good for viewing things like pollen grains or dust particles. What dry sample will you look at first?
Staining Techniques
Staining can help you see different parts of the sample more clearly. There are many different types of stains. Each stain highlights different structures. Some stains are used to color the cell nucleus. Others are used to color the cell membrane. To stain a sample, you will need the stain, a dropper, and a rinse solution. Place the sample on a clean slide. Then, add a drop of stain to the sample. Let the stain sit for the recommended amount of time. Then, rinse the slide with the rinse solution. This will remove any excess stain. Now, you are ready to view the slide under the microscope. What stain will you use for your sample?
Fun Fact or Stat: The world’s smallest bacteria are about 0.2 micrometers in diameter. That’s so small, you could fit about 5,000 of them across the period at the end of this sentence!
Digital Microscopes for Species Analysis
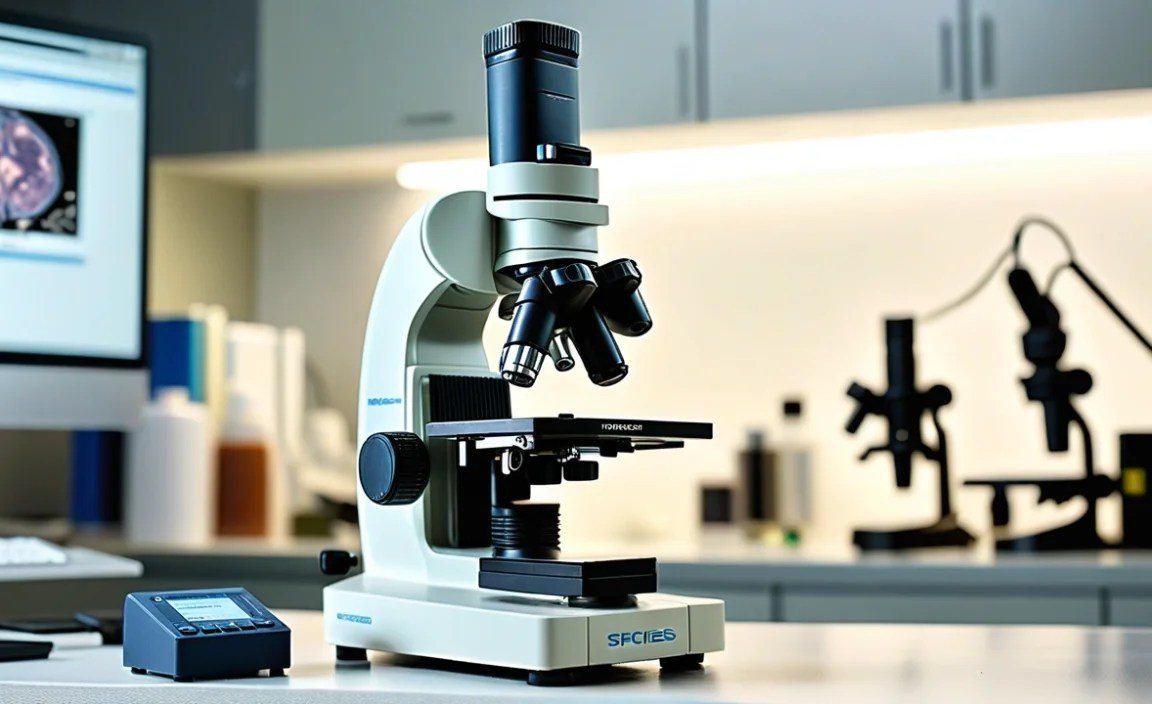
Digital microscopes are a modern tool for species identification. These microscopes have a camera attached. The camera captures images of the sample. You can view the images on a computer screen. Digital microscopes make it easier to share images with others. You can also save the images for later study. Some digital microscopes have software that can help you analyze the images. This software can measure the size and shape of objects. It can also count the number of cells in a sample. Digital microscopes are used in many fields, including biology and medicine. They are also used in education. Students can use digital microscopes to learn about the microscopic world. What would you like to see with a digital microscope?
- Digital microscopes have a camera attached.
- Images can be viewed on a computer screen.
- You can share images easily with others.
- Software can help analyze the images.
- Digital microscopes are used in education.
- Students can learn about the microscopic world.
Using a digital species identification microscope is simple. First, connect the microscope to your computer. Then, place your sample on the microscope stage. Turn on the microscope and adjust the focus. The image will appear on your computer screen. You can use the software to adjust the brightness and contrast. You can also zoom in or out to see more detail. If you want to take a picture, click the capture button. The image will be saved to your computer. You can then share the image with others or use it for your research. Digital microscopes make it easy to document your observations. They are a valuable tool for anyone interested in the microscopic world. Have you ever used a digital microscope?
Benefits of Digital Imaging
Digital imaging has many benefits. It allows you to capture high-quality images of your samples. You can then share these images with others easily. Digital images can be stored and accessed easily. You can also use software to analyze the images. This software can measure the size and shape of objects. It can also count the number of cells in a sample. Digital imaging is a powerful tool for scientific research. It allows you to document your observations accurately. It also makes it easier to collaborate with other scientists. What are the advantages of digital imaging over traditional methods?
Software for Image Analysis
There are many different types of software for image analysis. Some software is designed for specific tasks. For example, some software is used to count cells. Other software is used to measure the size of objects. Some software is more general purpose. It can be used for a variety of different tasks. When choosing software for image analysis, it is important to consider your needs. What kind of analysis do you want to perform? How much experience do you have with image analysis software? There are many free and paid options available. Which software is best for your project?
Sharing and Storing Digital Images
Sharing and storing digital images is important. You want to make sure that your images are safe and accessible. There are many different ways to share digital images. You can email them to others. You can also upload them to a website or online storage service. When sharing images, it is important to consider the file size. Large images can be difficult to email or upload. You can reduce the file size by compressing the image. There are also many different ways to store digital images. You can store them on your computer’s hard drive. You can also store them on an external hard drive or a cloud storage service. Where do you store your important files?
| Feature | Optical Microscope | Digital Microscope |
|---|---|---|
| Image Viewing | Directly through eyepieces | On a computer screen |
| Image Capture | Requires separate camera | Built-in camera |
| Sharing Images | Difficult without extra equipment | Easy sharing via email or online |
| Image Analysis | Manual measurements | Software-assisted measurements |
Fun Fact or Stat: Some digital microscopes can magnify objects up to 2,000 times their original size!
Advanced Species Identification Techniques
Advanced species identification often uses a species identification microscope along with other tools. These techniques help scientists identify species more accurately. One technique is DNA barcoding. This involves analyzing the DNA of a sample. The DNA can be compared to a database of known species. Another technique is mass spectrometry. This involves measuring the mass of different molecules in a sample. The mass spectrum can be used to identify the species. These techniques are used in many fields, including ecology and conservation. They help scientists understand the diversity of life on Earth. They also help them protect endangered species. What other advanced techniques might be developed in the future?
- DNA barcoding analyzes the DNA of a sample.
- Mass spectrometry measures the mass of molecules.
- These techniques improve identification accuracy.
- They are used in ecology and conservation.
- They help protect endangered species.
- Advanced microscopes can see even smaller details.
Using advanced techniques with a species identification microscope requires training. Scientists need to learn how to use the equipment. They also need to learn how to analyze the data. These techniques can be complex. But they can also provide valuable information. For example, DNA barcoding can help identify cryptic species. These are species that look very similar but are actually different. Mass spectrometry can help identify the source of a sample. This can be useful in forensic science. Advanced techniques are constantly being developed. Scientists are always looking for new ways to identify species more accurately. How might these techniques change in the future?
Understanding DNA Barcoding
DNA barcoding is a powerful tool for species identification. It involves analyzing a short sequence of DNA from a sample. This sequence is called a DNA barcode. The DNA barcode is compared to a database of known species. If the barcode matches a known species, the sample can be identified. DNA barcoding is used to identify plants, animals, and fungi. It can also be used to identify bacteria and viruses. This technique is useful for identifying species that are difficult to identify using traditional methods. It is also useful for identifying new species. How accurate is DNA barcoding?
Exploring Mass Spectrometry
Mass spectrometry is another powerful tool for species identification. It involves measuring the mass of different molecules in a sample. The mass spectrum is a unique fingerprint for each species. The mass spectrum can be compared to a database of known species. If the spectrum matches a known species, the sample can be identified. Mass spectrometry is used to identify bacteria, fungi, and other microorganisms. It can also be used to identify proteins and other biomolecules. This technique is useful for identifying species in complex samples. It is also useful for identifying new species. How does mass spectrometry work?
Future of Species Identification
The future of species identification is exciting. New technologies are being developed all the time. These technologies will make it easier to identify species accurately. One promising technology is portable DNA sequencing. This technology allows scientists to sequence DNA in the field. This means that they can identify species without having to bring samples back to the lab. Another promising technology is artificial intelligence. AI can be used to analyze images and other data. This can help scientists identify species more quickly and accurately. What other new technologies might be developed?
Fun Fact or Stat: Scientists have only identified a small fraction of the species on Earth. It is estimated that there are millions of species that have yet to be discovered!
Summary
A species identification microscope is a valuable tool. It helps us see small things that we cannot see with our eyes. Microscopes use lenses to make objects appear larger. There are different types of microscopes. Light microscopes are common in schools. Electron microscopes are more powerful. They can show even smaller details. Microscopes are used in many fields, including biology, medicine, and education. They help scientists study cells, bacteria, and other microorganisms. They also help doctors diagnose diseases. You can use a microscope to explore the world around you. You can look at leaves, stems, insects, and other small objects. What will you look at under the microscope?
Digital microscopes are a modern tool. They have a camera that captures images. You can view the images on a computer screen. Digital microscopes make it easy to share images. They also have software that can help you analyze the images. Advanced techniques, like DNA barcoding, improve species identification. They help scientists identify species more accurately. These techniques are used in ecology and conservation. They help protect endangered species.
Conclusion
A species identification microscope opens a window to a hidden world. It allows us to see the tiny details of living things. We can identify different species of plants, bugs, and microorganisms. Microscopes are essential tools for scientists and students. They help us learn about the diversity of life on Earth. With a microscope, you can become an explorer of the microscopic world. What amazing discoveries will you make?
Frequently Asked Questions
Question No 1: What is a species identification microscope?
Answer: A species identification microscope is a special tool. It helps you see very small things. It makes tiny objects look much bigger. This helps you study things you cannot see with your eyes alone. Microscopes use lenses to magnify objects. The lenses bend light to make the object appear larger. With a microscope, you can identify different types of cells. You can also see bacteria and other microorganisms. This helps scientists learn more about living things. It also helps doctors diagnose diseases.
Question No 2: How does a microscope work?
Answer: A microscope works by using lenses to magnify an object. The lenses bend light in a way that makes the object appear larger than it really is. When you look through the eyepiece of a microscope, you are seeing a magnified image of the object. Different lenses have different magnifications. You can change the lens to see more or less detail. The total magnification is how much bigger the object looks. So, a species identification microscope helps us see the tiniest details that our eyes can’t see.
Question No 3: What can you see with a microscope?
Answer: With a microscope, you can see many different things. You can see cells, which are the building blocks of life. You can see bacteria, which are tiny microorganisms. You can also see plant structures, like leaves and stems. You can even see tiny bugs and insects. A species identification microscope lets you explore the microscopic world. It helps you see things that are normally invisible to the naked eye. It is like having a superpower to see the very small!
Question No 4: What are the different parts of a microscope?
Answer: A microscope has several important parts. The eyepiece is what you look through. The objective lenses are the lenses that magnify the object. The stage is where you place the sample. The focus knobs help you adjust the focus. The light source provides light to see the sample. Each part of the microscope plays a role in creating a clear, magnified image. Knowing the parts of a species identification microscope helps you use it effectively.
Question No 5: How do you prepare a sample for a microscope?
Answer: Preparing a sample for a microscope involves several steps. First, you need to collect the sample. Then, you need to place it on a clean glass slide. You might need to add a drop of water or stain. A stain helps to make the sample more visible. Then, you need to cover the sample with a coverslip. The coverslip protects the sample and the microscope lens. Preparing the sample correctly is important. It helps you get a clear image under the species identification microscope.
Question No 6: Why is a microscope important for species identification?
Answer: A microscope is very important for species identification because many identifying features of living things are very small. You often need to see details at the cellular level to tell one species from another. Without a species identification microscope, you might not be able to see the unique characteristics that make each species different. Microscopes are essential tools for scientists who study biodiversity and conservation.


