Capturing Glasswing Movement: The Secret to Stunning Photos
Capturing glasswing movement can be tricky! Use a fast shutter speed (1/500s or faster) to freeze their wings, or a slower speed with panning for motion blur. A high ISO and wide aperture help in low light. Continuous shooting mode and a stable lens will also improve your chances of getting a sharp, beautiful shot.
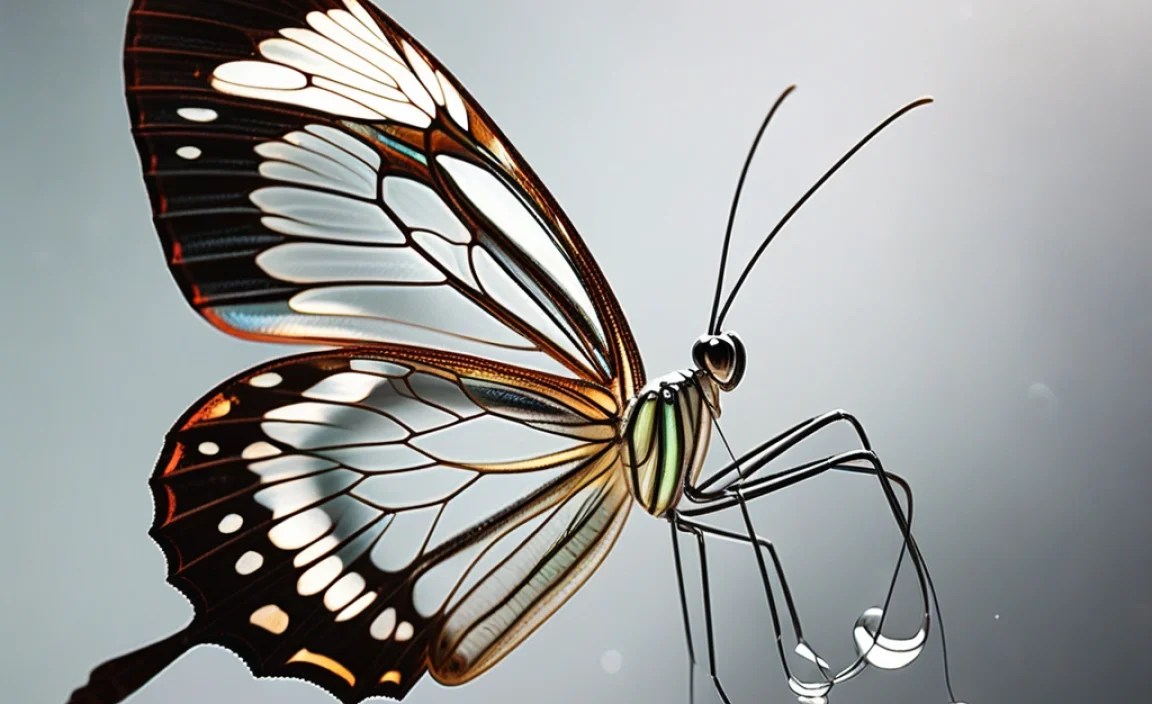
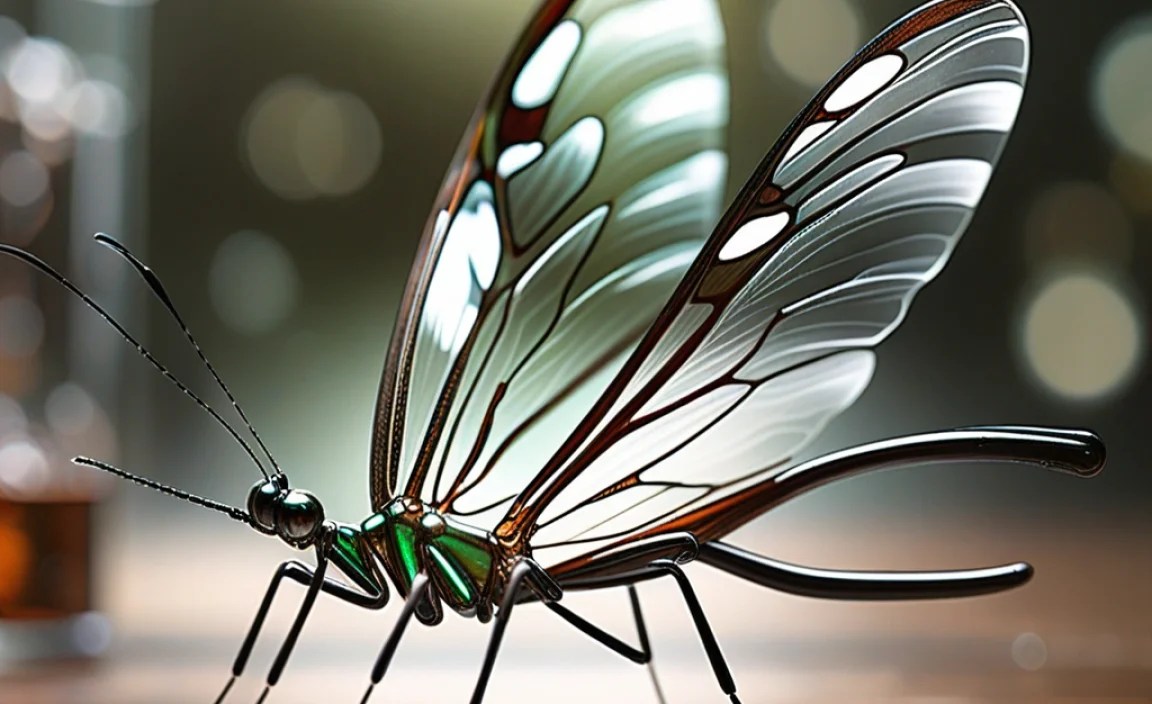
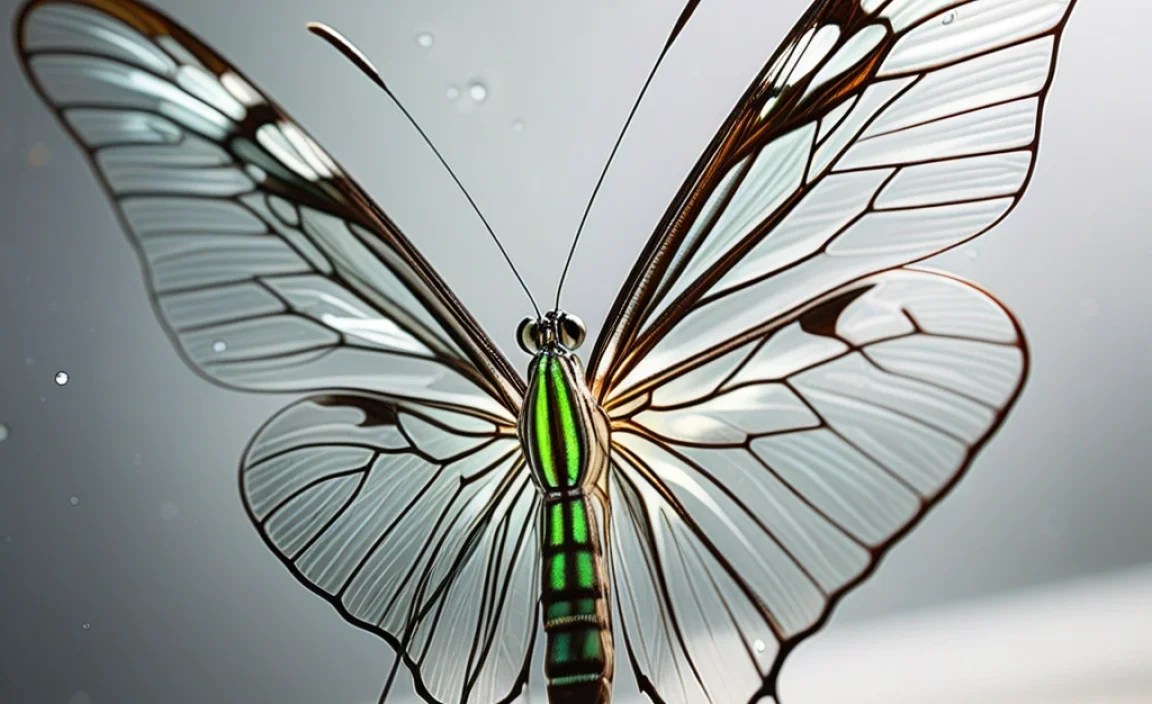
Have you ever tried to photograph a butterfly, only to end up with a blurry mess? It’s a common frustration, especially when dealing with the incredibly delicate and fast-moving glasswing butterfly (Greta oto). These beauties are known for their transparent wings, making them a unique and challenging subject for photographers. But don’t worry, capturing their ethereal flight is absolutely possible! With the right techniques and a little patience, you can take stunning photos that showcase their beauty.
In this guide, I’ll walk you through the steps to successfully photograph glasswing butterflies in motion. We’ll cover everything from camera settings to composition tips, ensuring you’re well-equipped to capture these magical moments. Let’s get started!
Understanding the Glasswing Butterfly

Before we dive into photography techniques, let’s appreciate the unique characteristics of the glasswing butterfly. Native to Central and South America, these butterflies are famous for their transparent wings, which they use as camouflage.
- Camouflage: The transparency helps them blend in with their surroundings, evading predators.
- Slow Flight: Despite their delicate appearance, they are relatively slow fliers, which can be an advantage for photographers.
- Habitat: They are typically found in shaded, forested areas.
- Diet: Glasswings feed on nectar from various plants.
Understanding these aspects of their behavior and habitat will help you anticipate their movements and plan your shots more effectively.
Essential Equipment for Capturing Glasswing Movement
Having the right equipment can significantly improve your chances of capturing stunning photos of glasswing butterflies. Here’s a list of gear to consider:
- Camera: A DSLR or mirrorless camera with manual mode is essential.
- Lens: A macro lens (100mm or similar) is ideal for close-up shots, while a telephoto lens (70-200mm or longer) can be useful for capturing them in their environment.
- Tripod: A sturdy tripod helps stabilize your camera, especially in low light or when using slower shutter speeds.
- External Flash: A flash can help freeze motion and add light in shaded areas. Consider a diffuser to soften the light.
- Remote Shutter Release: This helps minimize camera shake when using a tripod.
- Extra Batteries and Memory Cards: Essential for longer shoots.
Camera Settings for Capturing Glasswing Movement
Mastering your camera settings is crucial for capturing sharp, well-exposed photos of glasswing butterflies in motion. Here’s a breakdown of the key settings:
Shutter Speed
Shutter speed is one of the most critical settings for capturing movement. Here are some guidelines:
- Freezing Motion: Use a fast shutter speed (1/500s or faster) to freeze the wings in mid-flight.
- Motion Blur: Use a slower shutter speed (1/60s to 1/250s) to create a sense of motion blur, especially when panning with the butterfly.
Aperture
Aperture controls the depth of field and the amount of light entering the camera:
- Wide Aperture (e.g., f/2.8 to f/5.6): Use a wide aperture to create a shallow depth of field, which helps isolate the butterfly from the background.
- Narrow Aperture (e.g., f/8 to f/11): Use a narrower aperture for greater depth of field, ensuring more of the butterfly is in focus, especially in close-up shots.
ISO
ISO determines the camera’s sensitivity to light. Adjust it based on the lighting conditions:
- Low ISO (e.g., ISO 100 to 400): Use a low ISO in bright conditions to minimize noise.
- High ISO (e.g., ISO 800 to 3200 or higher): Use a higher ISO in low light to maintain a fast shutter speed, but be mindful of potential noise.
Shooting Mode
Choose the appropriate shooting mode for the situation:
- Manual Mode (M): Gives you full control over all settings, allowing you to fine-tune your exposure.
- Shutter Priority Mode (Tv or S): Allows you to set the shutter speed while the camera automatically adjusts the aperture.
- Aperture Priority Mode (Av or A): Allows you to set the aperture while the camera automatically adjusts the shutter speed.
Focusing Techniques
Accurate focusing is essential for sharp images:
- Continuous Autofocus (AF-C): This mode continuously adjusts focus as the butterfly moves, ideal for capturing flight.
- Single Autofocus (AF-S): Best for stationary butterflies or when pre-focusing on a specific spot.
- Manual Focus (MF): Useful for fine-tuning focus, especially with macro lenses.
Metering Mode
Metering mode determines how the camera measures light:
- Evaluative/Matrix Metering: The camera analyzes the entire scene to determine the best exposure.
- Spot Metering: The camera measures light from a small area, useful for high-contrast situations.
- Center-Weighted Metering: The camera prioritizes the center of the frame for metering.
Step-by-Step Guide to Capturing Glasswing Movement
Now that you have a grasp of the essential equipment and camera settings, let’s walk through a step-by-step guide to capturing glasswing butterfly movement.
Step 1: Scout Your Location
Before you start shooting, spend some time scouting your location. Look for areas where glasswing butterflies are commonly found. Shaded, forested areas with flowering plants are often good spots. Observe their behavior and identify their favorite nectar sources.
Step 2: Set Up Your Equipment
Set up your camera and tripod in a comfortable position, allowing you to move freely and track the butterflies. Attach your chosen lens and ensure your batteries are fully charged and memory cards have sufficient space.
Step 3: Adjust Your Camera Settings
Based on the lighting conditions, adjust your camera settings. Start with a fast shutter speed (1/500s or faster) and a wide aperture (f/2.8 to f/5.6). Adjust the ISO as needed to achieve proper exposure. Use continuous autofocus (AF-C) to track the butterfly’s movement.
Here’s a sample setup for different lighting conditions:
| Lighting Condition | Shutter Speed | Aperture | ISO | Focus Mode |
|---|---|---|---|---|
| Bright Sunlight | 1/1000s | f/5.6 | 100 | AF-C |
| Overcast | 1/500s | f/4 | 400 | AF-C |
| Shaded Area | 1/250s | f/2.8 | 800 | AF-C |
Step 4: Practice Panning
Panning involves moving your camera along with the butterfly as it flies. This technique helps keep the butterfly in focus while blurring the background, creating a sense of motion. Practice panning smoothly and consistently.
Step 5: Use Burst Mode
Set your camera to continuous shooting mode (burst mode) to capture a series of shots with each press of the shutter button. This increases your chances of capturing the perfect moment with sharp focus and ideal wing position.
Step 6: Focus on Composition
Pay attention to the composition of your shots. Use the rule of thirds to place the butterfly off-center, creating a more visually appealing image. Consider including elements of the environment, such as flowers or leaves, to provide context.
Step 7: Be Patient and Persistent
Capturing glasswing butterfly movement requires patience and persistence. These butterflies can be unpredictable, so be prepared to wait for the right moment. Don’t be discouraged if you don’t get the perfect shot right away. Keep practicing and experimenting with different techniques.
Step 8: Review and Adjust
After each shooting session, review your photos and analyze what worked and what didn’t. Adjust your camera settings and techniques based on your observations. Learn from your mistakes and continue to refine your approach.
Creative Techniques for Capturing Unique Shots
Once you’re comfortable with the basic techniques, try these creative approaches to capture unique and stunning images of glasswing butterflies.
Backlighting
Position yourself so that the sun is behind the butterfly, creating a soft glow around its wings. This can highlight the delicate structure of the wings and create a magical effect.
Macro Photography
Use a macro lens to capture extreme close-up details of the butterfly’s wings, eyes, and other features. This can reveal intricate patterns and textures that are not visible to the naked eye.
Using Reflections
Look for opportunities to capture reflections of the butterfly in water or other reflective surfaces. This can add an interesting element of symmetry and visual interest to your photos.
Environmental Portraits
Capture the butterfly in its natural habitat, showing its interaction with the environment. This can provide context and tell a story about the butterfly’s life and behavior.
Abstract Shots
Experiment with abstract compositions that focus on color, shape, and texture. This can create visually striking images that emphasize the artistic qualities of the butterfly.
Post-Processing Tips
Post-processing can enhance your photos and bring out the best in your images. Here are some tips for editing your glasswing butterfly photos:
- Adjust Exposure and Contrast: Fine-tune the exposure and contrast to achieve a balanced and visually appealing image.
- Correct White Balance: Ensure the colors are accurate and natural by adjusting the white balance.
- Sharpening: Add a touch of sharpening to enhance the details of the butterfly’s wings and body.
- Noise Reduction: Reduce noise in high-ISO images to improve clarity.
- Color Correction: Adjust the colors to enhance the vibrancy and saturation of the image.
- Cropping: Crop the image to improve the composition and remove distractions.
Use software like Adobe Lightroom or Photoshop for post-processing.
Ethical Considerations
It’s crucial to photograph glasswing butterflies ethically and responsibly. Here are some guidelines to follow:
- Respect Their Habitat: Avoid damaging or disturbing their natural environment.
- Do Not Handle Them: Never touch or handle the butterflies, as this can harm them.
- Avoid Flash Photography: Minimize the use of flash, as it can disorient or stress the butterflies.
- Be Mindful of Others: Be considerate of other photographers and visitors.
- Support Conservation: Promote conservation efforts and educate others about the importance of protecting these beautiful creatures. The Xerces Society is a great resource for conservation information.
Frequently Asked Questions (FAQ)
1. What is the best time of day to photograph glasswing butterflies?
The best time is usually early morning or late afternoon when the light is soft and diffused. This avoids harsh shadows and allows for more even exposure.
2. What gear is absolutely essential for photographing glasswing butterflies?
A camera with manual settings, a macro or telephoto lens, and patience are the most essential. A tripod can also be very helpful, especially in low light.
3. How do I get a sharp photo of a moving glasswing butterfly?
Use a fast shutter speed (1/500s or faster) to freeze the motion. Continuous autofocus (AF-C) and burst mode can also increase your chances of capturing a sharp image.
4. What if I don’t have a macro lens?
You can still get great shots with a telephoto lens. Focus on capturing the butterfly in its environment and use post-processing to crop and enhance the details.
5. How can I attract glasswing butterflies to my garden?
Plant nectar-rich flowers that they love, such as lantana, pentas, and salvia. Also, provide a water source and avoid using pesticides.
6. Is it okay to use flash when photographing butterflies?
It’s best to minimize flash use, as it can stress or disorient them. If you must use flash, use a diffuser to soften the light and keep the intensity low.
7. What settings should I use in low light conditions?
Increase your ISO, use a wider aperture (lower f-number), and try to stabilize your camera with a tripod or by leaning against a solid object. You might also need to slow down your shutter speed, but be careful to avoid motion blur.
Conclusion
Capturing the delicate beauty of glasswing butterflies in motion is a rewarding challenge. By understanding their behavior, mastering your camera settings, and practicing the techniques outlined in this guide, you can create stunning images that showcase their ethereal flight. Remember to be patient, persistent, and ethical in your approach. With each shot, you’ll not only improve your photography skills but also deepen your appreciation for these incredible creatures. So grab your camera, head out into nature, and start capturing the magic of glasswing movement!


