Butterfly Photo Flashcards: Spark Joyful Learning
Butterfly photo flashcards are a fantastic tool for learning about different butterfly species! They’re easy to make and use, helping both kids and adults recognize butterflies in your garden or on nature walks. You can create them using photos from books, magazines, or even your own backyard!
Have you ever wondered what that beautiful butterfly flitting around your garden is called? Identifying butterflies can sometimes feel like a challenge, especially with so many different species. But don’t worry, there’s a fun and simple way to learn! Creating your own butterfly photo flashcards is a wonderful project that brings you closer to nature. Whether you’re a student, a teacher, a gardening enthusiast, or simply someone who loves butterflies, this hands-on approach will make butterfly identification a breeze.
In this guide, I’ll show you exactly how to make your own butterfly photo flashcards, step-by-step. We’ll cover everything from gathering your materials to organizing your cards for easy learning. Get ready to transform your curiosity into knowledge and impress your friends with your butterfly expertise!
Why Use Butterfly Photo Flashcards?

Butterfly photo flashcards are an engaging way to learn about these amazing insects. Here’s why they’re so effective:
- Visual Learning: Seeing clear photos helps you remember what each butterfly looks like.
- Interactive: Flashcards make learning active and fun.
- Portable: You can take them anywhere – to the park, garden, or on a trip.
- Customizable: You can tailor the flashcards to focus on the butterflies in your local area.
- Great for All Ages: From kids to adults, anyone can benefit from using flashcards.
Gathering Your Materials
Before we start, let’s gather everything you’ll need. This will make the process smooth and enjoyable.
- Butterfly Photos:
- Books and Magazines: Cut out clear pictures of different butterfly species.
- Online Resources: Websites like the Butterflies and Moths of North America have high-quality images.
- Personal Photos: If you’ve taken photos of butterflies in your garden, even better!
- Cardstock or Index Cards: These will be the base for your flashcards.
- Scissors: For cutting out the butterfly photos.
- Glue or Tape: To attach the photos to the cards.
- Markers or Pens: For writing the butterfly names and facts.
- Optional: Laminator and Laminating Pouches: To protect your flashcards and make them last longer.
Step-by-Step Guide to Creating Your Flashcards

Ready to get started? Follow these steps to create your own set of butterfly photo flashcards.
Step 1: Select Your Butterfly Species
Choose which butterflies you want to feature on your flashcards. It’s a good idea to start with common species in your area. Here’s a table of some popular butterflies to get you started:
| Butterfly Name | Region | Distinctive Feature |
|---|---|---|
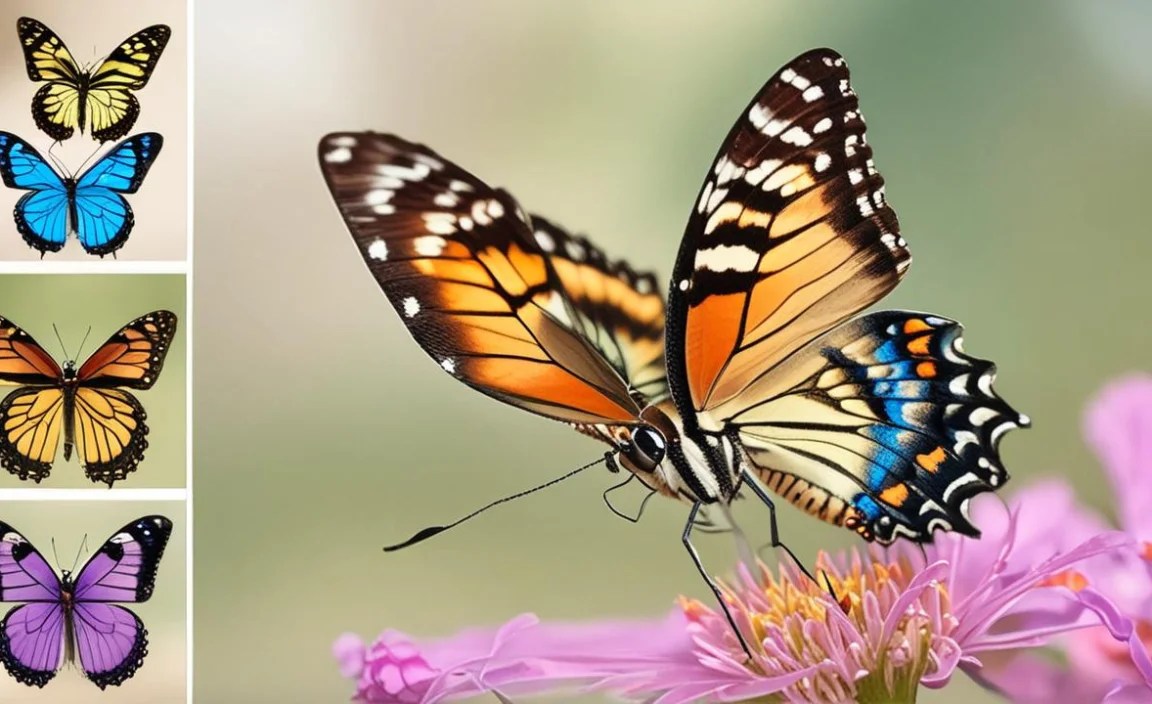
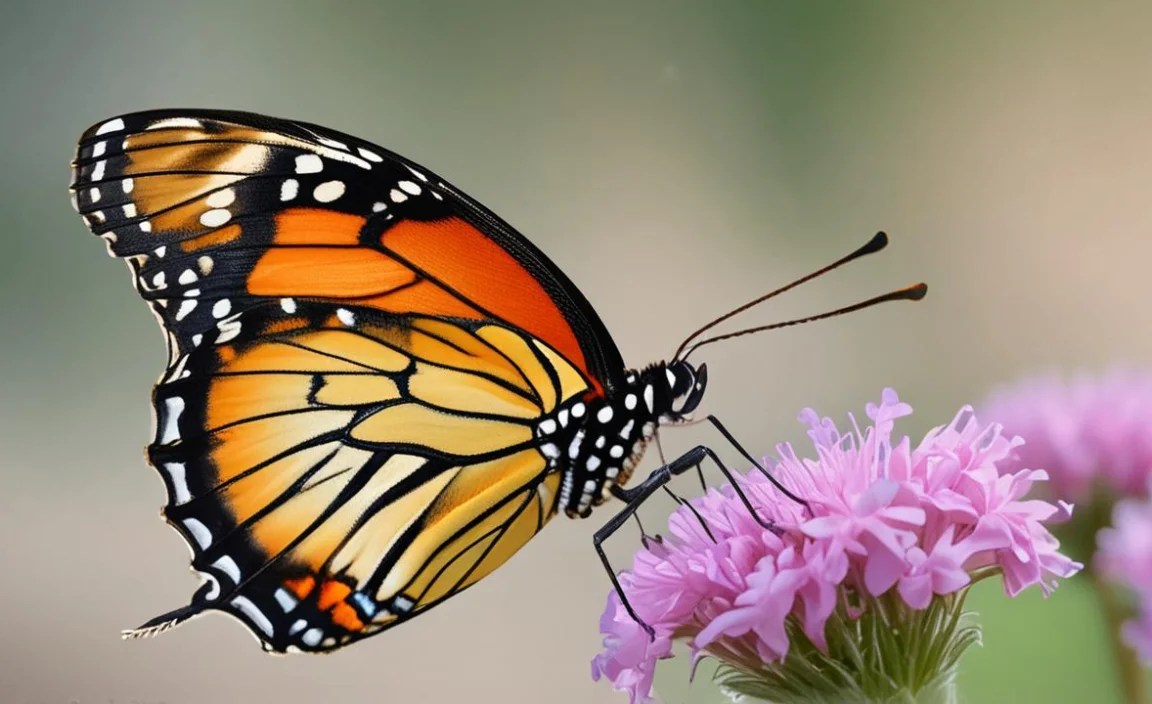
| Monarch | North America | Bright orange wings with black lines and white spots |
| Swallowtail | Worldwide | Tail-like extensions on their hindwings |
| Painted Lady | Worldwide | Orange and brown patterns with distinctive eye spots |
| Blue Morpho | Central and South America | Iridescent blue wings |
| Cabbage White | Worldwide | White wings with small black spots |
Step 2: Gather Your Butterfly Photos
Now it’s time to find clear, high-quality photos of the butterflies you’ve chosen. Here’s how:
- Print Images: If using online resources, print the images in a good size for your flashcards.
- Cut Out Photos: Carefully cut out the photos from books, magazines, or printouts.
- Size Matters: Make sure the photos are smaller than your cardstock or index cards.
Step 3: Prepare Your Cardstock or Index Cards
Get your cardstock or index cards ready for the photos.
- Cut Cardstock: If using cardstock, cut it into uniform sizes (e.g., 4×6 inches).
- Keep it Consistent: Using the same size for all cards will make them easier to handle and store.
Step 4: Attach the Photos to the Cards
It’s time to bring your photos and cards together!
- Apply Adhesive: Use glue or tape to attach each butterfly photo to a card.
- Center the Photo: Make sure the photo is centered on the card with some space around the edges.
- Press Firmly: Press down firmly to ensure the photo sticks well to the card.
Step 5: Add Information to the Cards
Now, let’s add some essential information about each butterfly.
- Butterfly Name: Write the name of the butterfly below the photo. Use clear, legible writing.
- Key Facts: Add a few interesting facts about the butterfly on the back of the card. This could include its habitat, food, or unique behaviors.
- Scientific Name: Consider adding the scientific name for a more advanced learning experience.
Step 6: Laminate Your Flashcards (Optional)
Laminating your flashcards will protect them from wear and tear, making them last longer. If you don’t have a laminator, you can skip this step.
- Prepare Laminator: Turn on your laminator and let it heat up.
- Insert Cards: Place each card into a laminating pouch.
- Laminate: Run the pouch through the laminator.
- Trim Excess: After laminating, trim any excess plastic around the edges of the card.
Using Your Butterfly Photo Flashcards

Now that you’ve created your flashcards, it’s time to put them to use! Here are some fun and effective ways to learn about butterflies:
- Basic Identification: Look at the photo and try to name the butterfly. Then, check the back of the card to see if you’re correct.
- Fact Recall: Read the name of the butterfly and try to recall the facts on the back of the card.
- Matching Game: If you have multiple sets, create a matching game by pairing the photos with the correct names or facts.
- Outdoor Practice: Take your flashcards with you to a garden or park and try to identify real butterflies you see.
- Teach Others: Share your flashcards with friends and family and teach them about butterflies.
Tips for Effective Learning
To get the most out of your butterfly photo flashcards, here are some tips to keep in mind:
- Start Simple: Begin with a small set of flashcards and gradually add more as you become more familiar with different species.
- Review Regularly: Review your flashcards regularly to reinforce your learning.
- Make it Fun: Turn learning into a game to keep yourself motivated.
- Use Mnemonics: Create memorable associations to help you remember the names and facts.
- Stay Organized: Keep your flashcards organized in a box or binder for easy access.
Expanding Your Butterfly Knowledge
Creating and using butterfly photo flashcards is a great start, but there’s so much more to learn about these fascinating creatures. Here are some ways to expand your knowledge:
- Read Books: Explore field guides and books about butterflies to learn more about their life cycles, behaviors, and habitats.
- Visit Butterfly Gardens: Spend time in butterfly gardens and observe different species up close.
- Join a Butterfly Club: Connect with other butterfly enthusiasts and participate in field trips and educational events.
- Watch Documentaries: Watch nature documentaries about butterflies to see them in their natural habitats.
- Use Online Resources: Explore websites like the National Geographic and The Xerces Society for information and conservation efforts.
Creating a Butterfly-Friendly Garden
One of the best ways to learn about butterflies is to attract them to your own garden. Here’s how to create a butterfly-friendly habitat:
- Plant Host Plants: These are plants that caterpillars eat. Some popular choices include milkweed for Monarchs and dill for Swallowtails.
- Plant Nectar Plants: These provide food for adult butterflies. Choose a variety of colorful flowers that bloom at different times of the year.
- Provide Water: Butterflies need water to drink. Create a shallow dish of water with pebbles for them to land on.
- Avoid Pesticides: Pesticides can harm or kill butterflies and other beneficial insects.
- Offer Shelter: Provide shrubs and trees where butterflies can take shelter from the wind and rain.
Understanding Butterfly Conservation
Many butterfly species are facing threats from habitat loss, climate change, and pesticide use. It’s important to understand these challenges and take action to protect butterflies.
- Support Conservation Organizations: Donate to or volunteer with organizations that work to protect butterfly habitats.
- Educate Others: Share your knowledge about butterflies with friends, family, and your community.
- Plant Native Plants: Native plants provide the best food and habitat for butterflies.
- Reduce Your Carbon Footprint: Climate change is a major threat to butterflies. Take steps to reduce your impact on the environment.
- Advocate for Change: Contact your elected officials and urge them to support policies that protect butterflies and their habitats.
Table: Butterfly Life Cycle Stages
Understanding the butterfly life cycle is key to appreciating these insects. Here’s a quick overview:
| Stage | Description | Duration |
|---|---|---|
| Egg | Butterflies lay their eggs on specific host plants. | 3-7 days |
| Larva (Caterpillar) | The caterpillar eats and grows, molting its skin several times. | 2-4 weeks |
| Pupa (Chrysalis) | The caterpillar forms a protective shell where it transforms. | 1-2 weeks |
| Adult | The butterfly emerges, mates, and lays eggs, continuing the cycle. | 2-6 weeks |
FAQ: Butterfly Photo Flashcards
1. What kind of photos should I use for my flashcards?
Use clear, high-quality photos that show the butterfly’s distinct features. Photos from field guides, websites, or your own garden can work well.
2. What information should I include on the back of the flashcards?
Include the butterfly’s name, its habitat, what it eats, and any interesting facts. Adding the scientific name is a nice bonus!
3. How can I make my flashcards more durable?
Laminating your flashcards is a great way to protect them from wear and tear. If you don’t have a laminator, you can cover them with clear contact paper.
4. Is it better to focus on local butterflies or a wider range of species?
Start with local butterflies to make learning more relevant and practical. As you become more familiar, you can expand to include species from other regions.
5. How often should I review my flashcards?
Review your flashcards regularly, even if it’s just for a few minutes each day. Consistent review will help reinforce your learning.
6. Can I involve kids in making the flashcards?
Absolutely! Making flashcards is a fun and educational activity for kids. They can help cut out photos, glue them to the cards, and write the names of the butterflies.
7. What are some good online resources for butterfly photos and information?
Websites like Butterflies and Moths of North America, National Geographic, and The Xerces Society are excellent resources for butterfly photos and information.
Conclusion
Creating butterfly photo flashcards is a rewarding way to deepen your understanding and appreciation of these incredible creatures. By following these steps, you’ll not only gain valuable knowledge but also develop a stronger connection to the natural world. So, gather your materials, get creative, and start exploring the fascinating world of butterflies today! Happy learning, and may your garden always be filled with fluttering wings!


